Help:Contents
Everything wiki-wise covered here is described on mediawiki's editing help page, usually in greater detail. Please test these things Sandbox, not here.
How to make a new page
New pages are created by creating a link for them, and a link is created by putting a pair of brackets - [[ and ]] - around the name of the page.
[[Chamaco Valaguez Jr.]]
becomes Chamaco Valaguez Jr.
If you're using the default set up (and you probably are!), links to pages which haven't been created are colored RED. Clicking on them takes you to the edit screen for the page, and you can immediatly create the content for the webpage.
You can now also make a new page simply by searching for it. Look for the "There is no page titled ":[pagename]" text when you search by the (new) page name, and click on the page name to edit the new page.
How to use the profile template
All our wrestler bios use the same template, as set up elsewhere in the wiki. If you're adding a new wrestler and want to use it, just copy below and paste it in the new page
{{bioFields|
|image=
|name=
|realName=
|nicknames=
|nameHistory=
|family=
|maestro=
|birthdate=
|debut=
|lostmaskto=
|height=
|weight=
|obituarydate=
|signatureMoves=
|titles=
|}}
Enter each field's information after the = sign.
Please remember a few pointers
- Don't inlcude the image line if you don't have an image. Everything else is fine blank, but that one will leave some formatting information in the image box.
- We do not include real names for those wrestlers who are masked and have not revealed the real name
- Don't forget to [[link]] moves, titles, hometowns and other wrestlers, so the profile is better connected.
How To Upload A Picture
Look at the bar on the left side of the screen. Below the search box, there's a section called toolbox. Some of the toolbox choices change depending on where you are in the wiki, but there's always an option to Special:Upload. If you can't find it, just use that link!
Next, click on the browse tab, and find the image you'd like to upload from your hard drive. (Windows computers tend to save your images in My Documents or My Pictures unless you tell them otherwise.)
The picture will be uploaded under the name you saved on your computer. If you'd like to call it something else, you can change the name in the Destination File box. You can also leave a note to explain the picture to everyone who uses the system. (If you've been using the wiki for a while, you may remember there was a checkbox you also had to click to upload; that's been thankfully removed.)
Once you're all set, click Upload File. It may take a little time if you've got a large file or a slow connection.
Once the file is uploaded, you can add it to any webpage. If you'd like to add it to a profile, just type the file name next the Image= line. If you're using it elsewhere, you link to it almost the same way you'd link to a page.
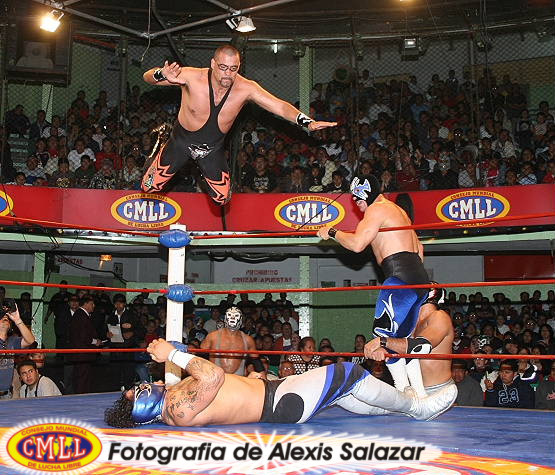
[[Image:Flyingsplash.jpg]]
You just need to include "Image:" in front of the file name to make it an image. Make sure your spacing and capitalization is correct, because wiki is extremely picky. (If your link does not work, it'll just show up in red text, like File:Flying Splash.jpg
How To Create A Redirect
Redirect's are actually very tiny pages, with one magic word - #REDIRECT - and one link. The information goes on the page which you'd like to just be a redirection.
#REDIRECT [[page to redirect towards]]
You can redirect to any page, but you can not redirect to a category, and you can not redirect to another redirect (double redirects; see a list of those on the Special:DoubleRedirects page)
